
Like any other type of flooring, bathroom flooring needs to be long-lasting and sturdy enough to endure the test of time and foot traffic, but they also need to be moisture resistant.
When bathroom floors begin to show signs of wear and tear, it’s time for a bathroom floor replacement. Replacing bathroom flooring isn’t as difficult as one might think. However, there are a few steps that you should take before replacing bathroom flooring yourself.
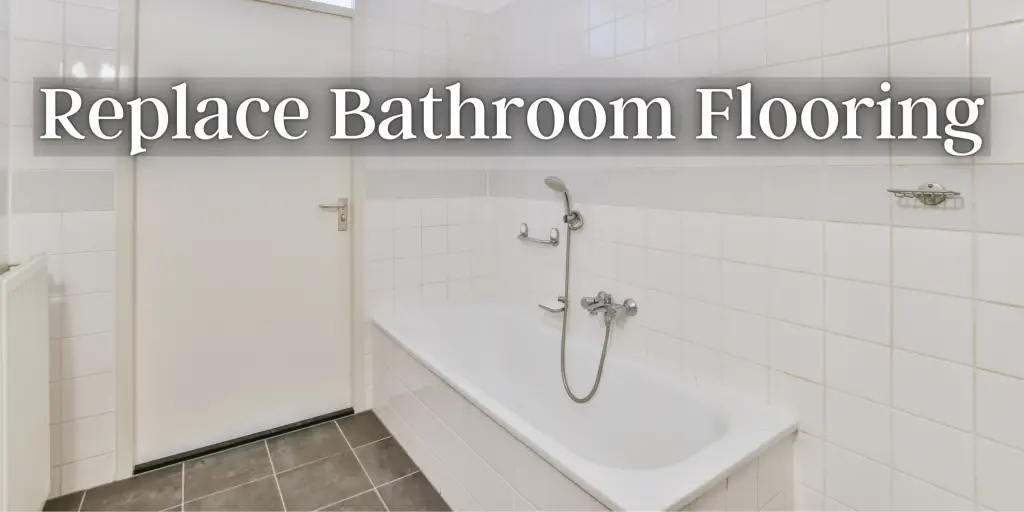
When the bathroom becomes old and starts to develop a specific condition, bathroom renovation is needed. One way of a bathroom renovation is by replacing bathroom flooring. This article will cover bathroom flooring installation step by step for you who want to learn it yourself.
Another interesting read: Is Waterproof Laminate Flooring Effective?
Step-by-Step Guide for Replacing Bathroom Flooring
Removing an old bathroom floor and installing a new one is no easy task, especially if you need to break out old tiles or strip out an old hardwood floor. But if you follow the right steps, your DIY bathroom renovation project can be a huge success and end with your bathroom looking great. Here is a quick look at how to replace bathroom flooring.
Step 1: Preparing The Bathroom Floor
Before you replace bathroom flooring, make sure that the bathroom room is clean from any dirt or dust on the bathroom flooring.
Remove all stuff from the bathroom if necessary. You can also remove the shower door from the tub enclosure if installed. Cover your bathtub with a plastic sheet to protect it from dirt during the removal process of the old tile and the installation process of a new one. If there’s no more space to install new tile bathroom flooring, you can skip this step.
Step 2: Removing Old Tile bathroom Flooring
Before removing old bathroom flooring, ensure it is safe to remove and not attached to bathroom walls. If the bathroom floor tiles are installed on the plywood over concrete foundation (subfloor), be careful when eliminating bathroom tile as they might break or crack if too much force is applied.
Use a rubber hammer and tap around bathroom tile at grout lines carefully until the bathroom floor starts to move enough for prying up with a flat bar. Also, use a crowbar for stubborn bathroom flooring that cannot be pried up easily using ordinary pry bar tools. When the bathroom tiles have been removed, you can use a wire brush or sandpaper to clean old adhesive residue from the bathroom subfloor.
Step 3: Prepare New Bathroom Floor
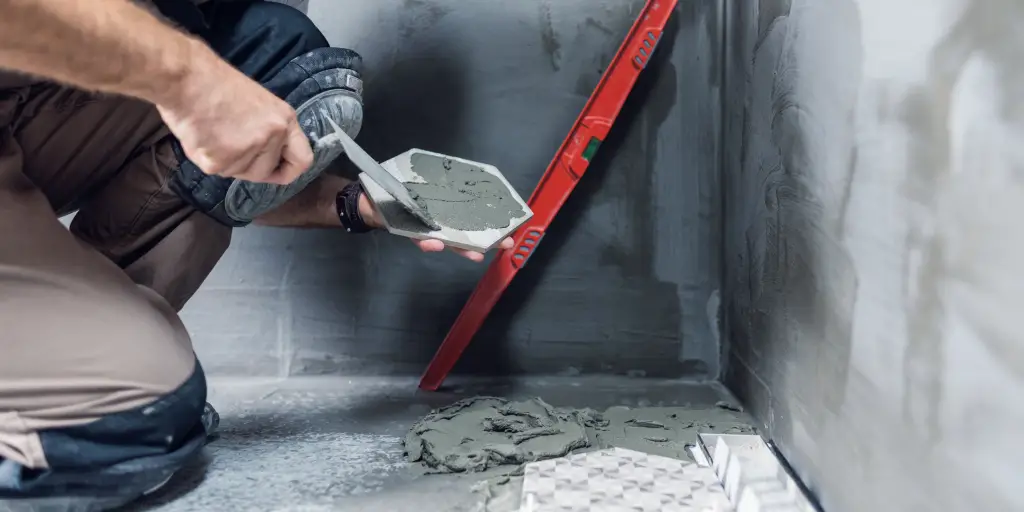
It would help if you ensured no existing cracks or tiles gaps between bathroom tiles. If it has cracks, you can apply an adhesive grout on the bathroom floor for filling it. To install bathroom tile without any gap, cut bathroom tiles with wet saw using a diamond blade for making sound straight edge bathroom tile installation later. Another way is by using bathroom mortar or cement mixture to fill gaps before installing the bathroom floor. Apply a thick mortar or cement mixture to fill spaces between old bathroom tile and subfloor. Allow the mortar or cement to dry before proceeding with the step installation process.
Step 4: Installing New Bathroom Flooring
After preparing new bathroom tile bathroom flooring, a bathroom tile installation process can be performed. Ensure bathroom tiles are cut to the correct size for placing them without any gaps or cracks. Place bathroom tiles to the bathroom floor outward with even space between bathroom tiles. Adhesive mortar or cement mixture will bond bathroom tiles together when dry enough.
Step 5: Fixing New Bathroom Floor Tile
Finally, you need to wait until the adhesive mortar or cement mixture has entirely dried before installing the bathroom tile. You can use a pneumatic stapler and roofing nails for attaching bathroom floor tile to the front edge of the room. Apply clear silicone sealant around the edges of the bathroom wall to prevent leaking issues during shower time. Now your new bathroom floor is ready!
The Following Information Will Make Your Bathroom Floor Replacement Project Go Smoothly!
Point#1
Find out what type of material the bathroom was originally laid with (if any), and make sure that you purchase matching materials for your replacement process.
Point# 2
Consider whether or not you want to replace the old tile in place or remove it first. Removing it first, be sure to protect the bathroom walls and other bathroom flooring (such as bathtubs) with drop cloths to protect them from damage.
Point# 3
Have all the tools you need close at hand before starting. This will save time and prevent unnecessary trips back to your storage space.
Point# 4
Before beginning the replacement process, remove bathroom fixtures attached to the old flooring, such as toilets or jetted tubs. One of these items may be difficult-or impossible-to remove if it’s already secured in place within the bathroom floor itself. If this is the case, ask someone for help so they can support these fixtures while you cut away any flooring around them.
Point# 5
Use a utility knife to cut through bathroom tiles that aren’t coming up quickly on their own. Start by cutting into the grout separating bathroom tiles, then apply pressure to break the tile. It may take a few tries, but eventually, you’ll be able to lift bathroom tiles out of place and remove them from the bathroom. Take care not to damage bathroom tiles near where you’re working if you plan on reusing them.
Point# 6
Remove all old adhesive or mortar from bathroom flooring before laying new material down. Lay a tarp over your entire bathroom before doing so, and use an adhesive remover and scraper for this task.
Point# 7
Test your replacement bathroom flooring thoroughly before fully installing it in your bathroom. This testing process should include walking around on the new flooring, applying bathroom cleaners to it, and checking for any signs of bubbling or peeling.
Point# 8
If you aren’t satisfied with your bathroom flooring testing results, remove your bathroom flooring at once. Apply the adhesive remover again until all traces are removed from bathroom tiles before replacing the bathroom replacement. Once you’re delighted with your new bathroom tile, your bathroom floor replacement project is complete.
Things to Consider When Replacing Bathroom Flooring
If you’re looking to replace bathroom flooring, there are a few different things you need to consider. The first thing you need to think about is the flooring material. You can choose from various materials, such as tile, vinyl, or wood.
Once you’ve decided on the material, you need to decide on the color and style. You’ll also need to think about the size of the bathroom and how much flooring you’ll need. Be sure to measure the bathroom before you go shopping for flooring.
Once you’ve picked out your bathroom flooring, it’s time to install it! Be sure to read the installation instructions carefully before starting. It may take a little bit of time, but it will be worth it when you have a bathroom floor that looks great.
You can also consider replacing bathroom flooring with wood flooring if you do not intend to use the bathroom very often. However, this is not always a cost-effective option and requires high maintenance on your part. Replacing bathroom flooring is most often done with bathroom tiles.
If you are planning to replace bathroom flooring, you must know the measurements of both the bathroom and the type of bathroom tiles or bathroom vinyl planks that are being used. This is so that your tile installation contractor will better understand how much materials are needed for bathroom flooring replacement.
There are different methods for laying the bathroom tiles when installing bathroom tiles. The dry lay method is laid out bathroom tiles with no mortar applied yet. Usually, bathroom tile installation contractors use this method when they plan on returning to grout the bathroom tiles at a later time or date.
The second bathroom tile installation method is the wet lay bathroom tiles which require that bathroom tiles are laid against the mortar. This bathroom tile installation method is usually done when time is of the essence since the bathroom tile layers will return to grout the bathroom tiles immediately after bathroom flooring replacement has been completed.
Conclusion
This guide taught you everything you to need to know about replacing your old bathroom flooring. We’re sure that you will love the look of your bathroom once the new floor is in place!
If you are also taking on other DIY projects or you want to know how to install vinyl floors over your old bathroom floor tiles, then you should have a look at some of our other guides. On Healthy Handyman, we have the best tips and tricks to help you take on any DIY project with ease.