
Removing the popcorn ceiling doesn’t require you much effort. But when you approach painting the ceiling, you must be attentive and cautious. If you take the wrong step in this regard, you may come out with a faulty renovation. As a result, the beauty of your house will be spoiled.
In order to avoid such a troublesome experience, we suggest you follow just 5 easy steps after removing the popcorn ceiling. The steps include spraying the ceiling with water, applying drywall compound, sanding the ceiling, applying a skim coat, and painting the ceiling. Let’s learn about the steps in detail!
Here is The 5 Easy Steps To Do After Removing Popcorn Ceiling
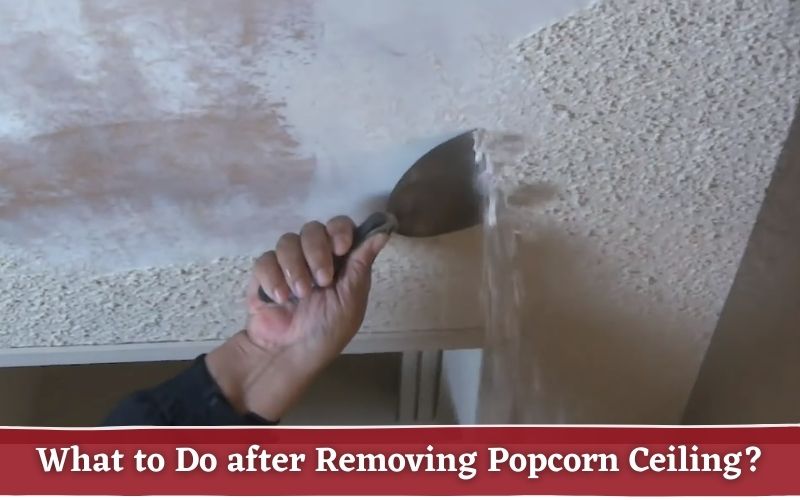
1. Spray the Ceiling with Water
Spraying the ceiling with water is the first step you need to take after removing the popcorn ceiling. And to do this, you must make sure you have a flexible garden sprayer. However, we suggest you go through the following steps while spraying your ceiling.
- Step 1: Make sure you have left no popcorn style defect in the ceiling. If the popcorn style defects are still available, you will find it troublesome while watering.
- Step 2: Take your garden sprayer and connect it to a flexible hose. Make sure the hose is not too long.
- Step 3: Now spray the ceiling so that no specks of dirt are left out there. If it is necessary, spray the ceiling with high pressure.
- Step 4: After spraying water, you should wait at least 24 hours. This is because your ceiling must be dry before you take further steps.
2. Apply Drywall Compound
When you scrape the popcorn ceiling, you may come out damaging the drywall beneath the popcorn surface. That is why you must take the necessary steps to repair the drywall of your ceiling. While repairing the drywall, we suggest you maintain the following steps.
- Step 1: Buy an effective joint compound from the market. Though you will get a bunch of great joint compound products, we recommend buying Dap Wallboard Joint Compound. This product will provide you with durable and meticulous performance.
- Step 2: After getting the best compound in your hand, get ready for application. For this purpose, take a skim coat and apply the compound in it. This will make the compound smooth and help you avoid extra sanding.
- Step 3: It’s time to make the compound dry. To make it dry, you have to wait for about 4 hours. Once the compound is completely dry, you will find it easy and smooth to sand.
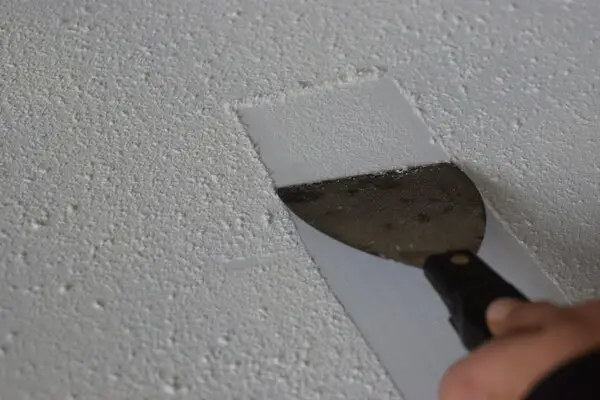
3. Sand and Prime the Ceiling
Once you are done with the application of the drywall joint compound, you need to approach sanding and priming the ceiling. This is an important process, so you must be careful while doing the job. To avoid potential troubles at this stage, make sure you follow the steps given below.
- Step 1: The first step you need to take while sanding is to check for asbestos in the drywall of your ceiling. If you come to see the presence of asbestos, then we recommend getting the sanding job done by a professional.
- Step 2: Go ahead to sand the drywall if there is no asbestos in your ceiling. For this purpose, you have to get a nice pole sander designed for drywall. And if you can’t reach the drywall with a pole sander, you can use a stool as well.
- Step 3: Get all the protective gear before you go further. For example, you must wear a face mask, a pair of eye goggles, and a piece of protective clothing.
- Step 4: Cover the walls and the floor with heavy-duty plastic. Now you can start sanding the ceiling of your house. In this case, take the pole sander and buff it over the ceiling over and over again.
- Step 5: When you finish sanding the drywall, you can start priming it. Priming drywall, however, helps the paint stick to the surface of your ceiling for a long time. This will also help you avoid any imperfections while painting.
4. Skim Coat on the Ceiling
Skim coating is an effective way to hide minor imperfections from the ceiling. Apart from fixing imperfections, a skim coat will also give your ceiling a new life. In order to enjoy both of the facilities, follow the steps given below.
- Step 1: Get a joint compound designed for skim coating. Well, if you buy a topcoat joint compound for skim coating, there is no chance to get the best output. That is why we recommend buying a multipurpose joint compound for skim coating.
- Step 2: Arrange a plasterer’s trowel and hawk. The trowel will help you apply the joint compound from different edges. And you can keep the compound in one hand with the help of the hawk. This will make your job easier as you can do the finishing job with the other hand.
- Step 3: Make the target area dust-free in order to perform a skim coating. Once you are sure there is no dust, start applying the multi-purpose joint compound. Remember, you need to ensure a couple of applications. The first application will be rough and tough for you. And you have to fix the imperfections of the first application with the second application.
5. Paint the Ceiling
Finally, it’s time to paint the ceiling of your house. In this regard, you have to decide which color you would use on the ceiling. However, make sure the color of the paint matches the paint of other segments of your house. Once you get the right product for paint, apply the following steps. This will help you learn how to paint a ceiling after removing popcorn.
- Step 1: Wear all the necessary protective gear including safety goggles, dust mask, and hair covering. This will help you avoid potential health threats while painting the ceiling.
- Step 2: Take a foam roller that is segmented. And get a flexible stool if you can’t reach the ceiling. However, we suggest covering the sidewalls and the floor before applying the paint with the foam roller.
- Step 3: If you come to see any stain on the ceiling, the best thing to do is to spray the paint on the spot. After fixing this type of stain, you need to wait until the paint dries.
- Step 4: Paint the ceiling in a particular direction. Never try to roll back the foam roller. If you do so, you may come out with some silly imperfections.
- Step 5: Once you are done with the first coat, you shouldn’t get in a hurry for the second coat. Let the first coat of paint dry completely. When the first coat is dry, you can approach applying the second coat. Now let the second coat dry and stay relaxed.
Wrap-Up
The proper way of approach can make your job super easy. That is why we suggest following our recommended steps subsequently. Remember, you will come to see some imperfections if you start painting the ceiling just after removing the popcorn.
Therefore, you must accomplish the painting job after some prep works. And if the prep works are challenging for you, you can hire a professional. We, however, hope the prep works won’t be difficult for you. Once you start following our recommended steps, you will certainly enjoy the experience.