
If your internet searches have led you here, then chances are that your slack on the clutch bar is too much or too little. The good news is that it doesn’t take a lot of expertise to learn how to adjust the clutch engagement point on a motorcycle. Stay with us till the end to be able to do this task properly on your own.
Here’s a fair warning, the following descriptions are entirely informational and involves a lot of practical reasoning. So if you find it hard to follow through the instructions, don’t get discouraged. We’ve all been there.
What Is A Clutch And How Does It Work?
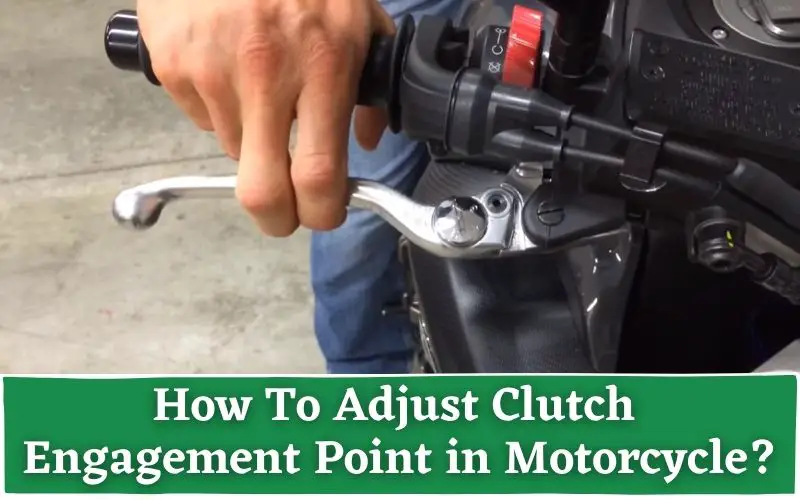
A clutch disconnects the engine from the transmission and drivetrain system used to rotate the wheel. The clutch lever is typically situated on the left side handlebar. You can operate a clutch by grabbing it repeatedly while shifting gears. Shifting gears without clutching is also possible but damages the gearbox a great deal.
Now, the clutch bar is connected to the circular assembly that sits near the engine. This circular consists of steel plates within it. Therefore, the engine’s outer basket is sometimes driven by the engine’s crankshaft as well. To be able to adjust the clutch engagement point, we must also be aware of the anatomy of the system.
What Are The Types Of Motorcycle Clutches?
The connection between them is either cabled or hydraulic depending on the wiring. On most rigs, you will find the cabled clutches as they are comparatively easier to manufacture and handle. This makes maintenance a lengthy yet simple process for riders.
But cables aren’t as durable as hydraulic clutches. This is why bikes designed to travel longer distances usually come with hydraulic clutches. These clutches do not need frequent maintenance as the fluid can adjust to the clutch wear on its own. In other words, they are pretty consistent in lever pull, so little force does the job.
What Are The Requirements For Adjusting Engagement Points?
Some people prefer their clutch lever engagement close to the grip, whereas some people like it farther. A good way to understand what engagement point is suitable for you is by using the grip as a reference point. Other factors such as hand size and strength also come into play when deciding a suitable engagement.
We recommend having the clutch engagement point higher than average. However, this doesn’t mean that lower or closer engagement points are bad for riding. Most experienced riders would agree with this. Nevertheless, it all depends on your handling type and what seems comfortable to you.
How To Adjust Clutch Engagement Point Motorcycle?
For the sake of demonstration, we’re going to assume that you are working on a cabled clutch. This makes it easier for inexperienced riders to understand the concept. Go through the entire 3-step walkthrough to have a clear idea of the process.
Calibrate Your Clutch Cable
The first step is to calibrating the clutch cable. For that, start by removing the clutch cover on the clutch cable. The rubber cover is designed to slide up and down however due to cable sweat and mud, it might be a little jammed in older motorcycles. A fair warning is not to use all your might if the cover seems too jammed. A little water rinsing can lubricate the cover tension and allow you to slide it upwards.
If you’re using motorcycles manufactured after 2014 then chances are that you won’t have enough room under the cover. So it’s best to slide it upwards to work on it.
Now your goal is to add maximum slack to the clutch cable before moving onto the clutch box. To do that, simply wind the jam nut all the way to the top so that all the tension is unleashed. We recommend using a wrench to hold onto the base nut so that it is easier on your hands while working on the jam nut. After you are done, move on to the second step.
Adjust The Clutch Near Your Engine
Now on to the main step, adjusting the clutch near your engine. The first step of adjusting the clutch is careful removing of the clutch box cover, also known as derby cover. As you start to unscrew the bolts be careful of any leakage. Don’t be afraid if you see little bits of fluid oozing onto the floor. That is due to the motorcycle being on a slanted stand for too long.
Then, hold the cover onto place using one of your hands while you use the other to unscrew the bolts. This will ensure the cover doesn’t fall off or get damaged by the time you’re done. Pinpoint the jam nut of the clutch & unscrew it all the way out (loosen it to the maximum) using an Allen key or a screwdriver depending on your motorcycle.
Adjust the clutch by tightening the clutch adjuster all the way. Make sure you don’t put extra force into ensuring it’s entirely in as that can easily ruin the adjustment. And lastly, rewind the jam nut to its original position and screw the cover back on.
Another interesting read: Best Motorcycle Lift Table For Harley Davidson
Readjusting The Clutch Cable
The final step to ensuring your optimal clutch engagement point is coming back to the clutch cable and readjusting it accordingly. Hold the base nut with a wrench and wind the adjustment screw according to necessity, while keeping an eye on the clutch handle.
Take note of the free-play of your clutch handle and stop winding your adjustment screw once you find your preferred tension. To seal the adjustment in, simply wind the jam nut back to its original position and you’re all set.
If you’ve gone through the entire post, you now know more about how to adjust clutch engagement point motorcycle than the average rider. Feel free to seek help from your motorcycle’s service manual if necessary. Now you’re on your way to become a motorcycle maestro! Ride smooth, ride safe!
