
Framing a room using wood is something that almost anyone can do, as long as they enjoy taking part in DIY projects. If this is not the case for you, then you might want to find someone else to take on this project for you.
Although, you don’t always need additional assistance from an expensive contractor or carpenter, as this is something that you can do yourself with the right skills and knowledge.
A framed room is something that can be an economical task and cost-effective, and there are typically two different methods that people follow when it comes to doing so.
These methods are conventional framing and advanced framing, which we will talk about more later on.
In this article, we are going to tell you exactly how you can frame a room addition yourself in order to add onto your home or to make rooms in areas like an unfinished basement or garage.
No matter what you are trying to do, we are going to tell you how to do it, to eliminate the element of guesswork and allow you to get started. To find out more, just keep reading.
How To Frame A Room Addition
Draw Up Plans for the New Room
One of the first things that you need to do is to use a pencil and some graph paper to draw up some plans for the new room. You could also install a computer program to help with this if you are looking for a better visual.
You should make sure that you are planning ahead for things like windows and doors. You will also need to think about how wide, tall, and high off the ground the windows will be, and where they will be placed in the room.
Decide On a Framing Method
The next thing to add to your to-do list is to decide which framing method you want to use. You can use either the conventional or advanced framing method, depending on which you would prefer to use.
The conventional framing method uses 2 by 4 studs on 16-inch centers. It also uses more wood than the advanced framing method, and it has less space between the studs for insulation.
The advanced framing method used less wood as it uses studs on 24-inch centers and open corners.
The advanced framing method is often considered by some as structurally inferior, but it does meet the structural codes of most areas. High wind areas and areas with seismic activity may not apply to this.
Obtain Permits and Permission
Something that you should keep in mind is that you will need to follow a variety of legal requirements and obtain building permits before you can even think about starting work on your addition.
Meeting these requirements will be handled through the permitting process with the county.
You should expect to have to provide copies of your plans or blueprints, exact specifications for any drainage that you will be adding, and distances from things like side yards and sewer lines.
The initial process can easily become expensive and time-consuming, so this is something that you need to account for in the planning process.
Get Your Hands On the Materials You Need
It is now time to get your hands on the materials that you need to get started. You should determine the number of studs that you will need and add an extra 10% to this.
Extra wood will give you what you need for things like headers, fire blocking, and shorts studs that go above and below windows and doors. You should also buy treated boards for the base plate of each wall.
Start the Foundation
Before you can get started on the framing, you will first need to build a foundation. The majority of people will pour a concrete slab.
This slab will need to be of construction quality, which means that it should be made of a thick concrete material that is poured to a precise depth.
You should seriously consider hiring a professional for this task. You could also build a subfloor with stone or wood supports, but you will need to research code requirements within your area.
Lay Out Your Walls
Now that you have done all of the planning, it is time to get started. You should use the chalk line to mark the wall lines on the foundation.
Be sure to account for windows and doors as you go. Snap your chalk line around the exterior measurement of the walls. Measure at each end of every wall so that the wall lines are straight.

- EXTRA-BOLD SNAP LINE - 1.0 mm braided nylon line produces clean, clear, accurate snaps for the precise layout results. Designed to work best with...
Cut Studs
You should also determine how high you want your finished walls to be. Standard ceilings are 8 feet high, but you can go higher if you want to.
Either way, you will need to make sure to subtract 41/2 inches from that height to determine the height of your wall studs. This allows space for the bottom seal plate (1 ½ inch) and the double top plate (3 inches).
Tag Top and Bottom Plates
You will need to now put the top and bottom 2 x 4s together and mark them as to where you want your studs. Standard interior walls have studs on 16-inch centers.
Marking the top and bottom plates together will ensure that you have straight studs.
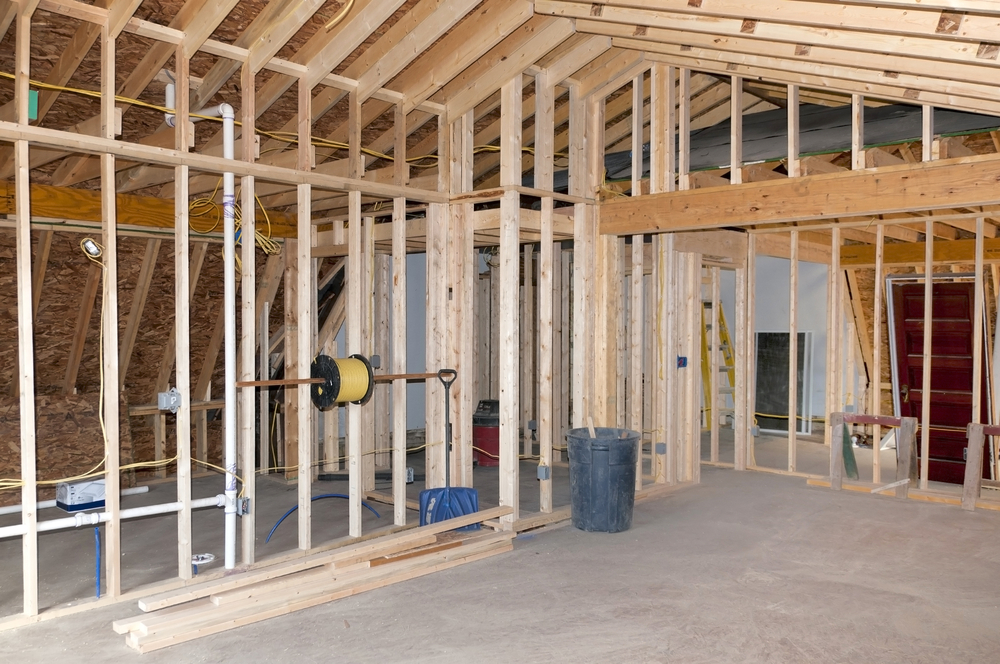
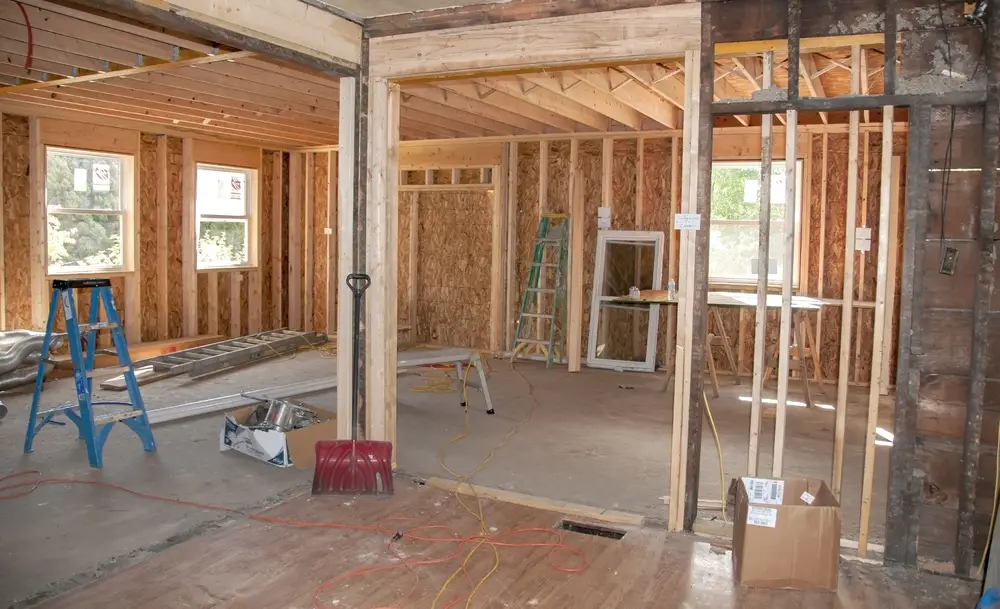
Construct the Walls
Construct the walls when they are lying down. After you’ve finished each wall, lift it into place and attach it to the adjoining wall. Then, attach it carefully to the existing wall of the home, where you are building the addition.
Place Extra Pieces
You will also need to place jack studs, cripples, headers, and fire blocking in spaces where you have doors or windows. You should install these pieces according to code. I
Install Double Top Plate
The last step is to nail the top plate all around the top of the wall, and then line up the nails with the studs below. All top plates are doubled for support.
