
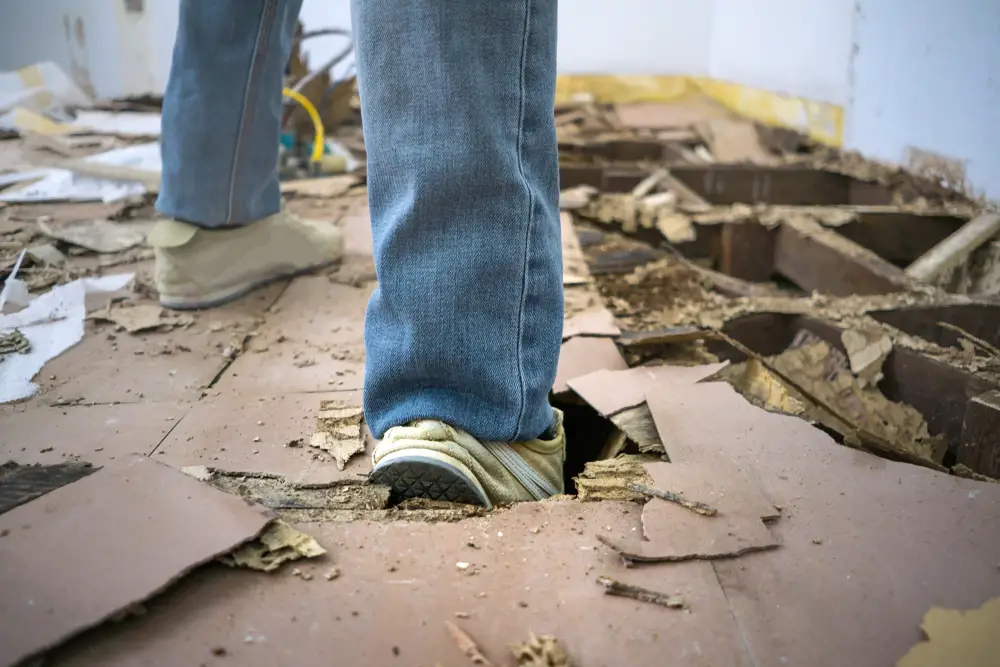
One of the biggest advantages of living in an old house is the luxury of hardwood floors. Nothing compares to the feeling of the fine-grained texture of oak wood planks under your feet. However, there are downsides to a beautiful hardwood floor.
They’re prone to damage, and moving furniture against hardwood floors can result in large, gaping holes in the wood.
Below, we’ll tell you all you need to know about fixing a large hole in a hardwood floor, what tools you’ll need to do this, and how these holes happen.
How Does the Hole Happen?
While slim and minimalistic furniture is in vogue today, it wasn’t always this way, especially when hardwood floors were more common and appliances like radiators had big dimensions.
A lot of them had to be screwed down to the floor. So when radiators had to be moved or replaced, you had to unscrew them or pull them apart.
Plus, moving heavy furniture across hardwood floors could leave deep grooves in the floor, and sudden impact from furniture legs could also severely damage the floor.
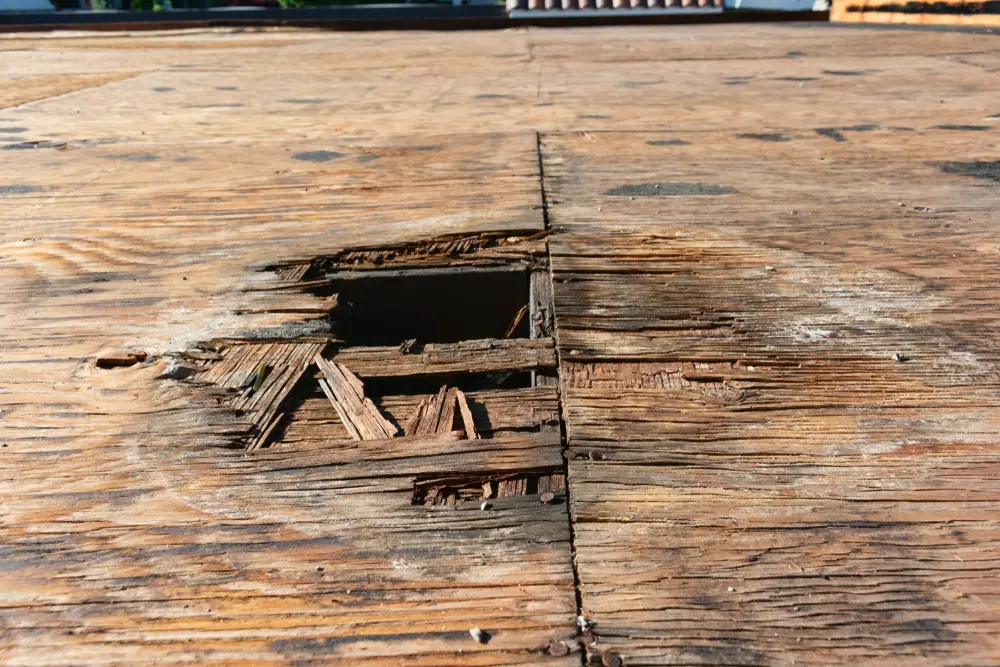
If incidences like this occur often enough, even the sturdiest of hardwood floors will suffer, and fall victim to holes or cavities. If these holes are minimal, then the solution may be some simple polishing and varnishing.
But with significant and repeated impact, the floor will sustain large gaping holes. While it is always best to seek professional help for this, you can also solve this problem by taking it out of your toolbox and fixing the floor yourself.
Another interesting read: How To Frame A Room Addition
What Tools Will You Need?
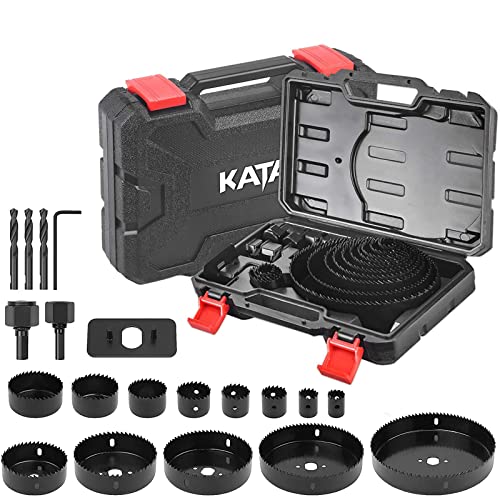
Fixing a large hole does require some handyman know-how and you will need rather heavy-duty tools to get the job done. Here’s what you’ll need:
- Hole saw or Spade bit
- Plug cutter
- Wood glue
- Mallet
- Wood restoration oil or wax repair stick
- Latex filler or Epoxy filler
- Sandpaper (100-grit, 150-grit, and 200-grit)
- Industrial wood stain or Polyurethane gloss.
- Hair dryer or blower.
- Sponge.


Fix a Large Hole in a Hardwood Floor
Now that you’ve gathered all your tools and equipment you can get started.
It’s worth remembering that this isn’t an easy task and it will take longer than a few minutes. It’ll take quite a bit of time, and possibly cost you some money.
But the most important thing is to be patient. It’s best to take it one step at a time and make sure each step is completed perfectly before you move onto the next step.
Resize the Hole
Use the hole saw or spade bit and resize the original hole to a suitable dimension, making sure the rugged spot has a roughly even diameter all around. Take your time with this step to match the hole size to your plug cutter.
Plug the Hole
Using the plug cutter, fashion a plug of the appropriate size of the hole. Take the cork and push it into place by hand and with some force.
You can even stand on it with your feet if necessary. Then use a mallet to storm the cork into place and even it out with the floor.
You can also use some adhesive wood glue to align the grain on the wood. This should mostly fill up the large hole and prevent any accidents.
Refurbishing the Scratches
All this wear and tear is sure to leave some nasty scratches. So your floor looks the best it can be, let’s talk about finishing touches after plugging the hole.
First, investigate how deep the scratches are. If they are shallow enough and can be repaired quickly, get some wood repair oil. Apply the oil per the instructions, and that should do the trick.
However, if the oil doesn’t cut it and you notice slightly deeper grooves, get a wax repair stick. These are really handy tools designed just for this purpose. Just make sure the wax color matches the color of your existing floor.
Apply a Wood Filler
If you notice the grooves are more profound and are still noticeable despite using wax or oil, then fillers are your next resort.
Look for the most appropriate wood filler at the hardware store that is the closest color to your original wood paneling. Some people prefer latex fillers as they are easier to handle and are effective in filling narrow grooves.
More serious scratches and grooves will require an industrial-strength epoxy filler. Using epoxy fillers requires you to mix them with a substitute compound before applying them directly.
The simplest choice is to use woodgrains from the existing floor. Mixing original wood grains with the epoxy filler makes it less prone to staining and the colors are sure to match.
Using a wood filler should leave the hole on your hardwood floor almost repaired. There should be no noticeable scratches or indents.
Sand Well
Time to whip out the sandpaper! Sand the surface down to the nitty-gritty while smoothing out the minor indents in the filled hole.
Start around the edges with 100-grit sandpaper, gradually switching to 150-grit, and move towards the center of the plug as you keep sanding. Only use 200-grit sandpaper for finishing touches.
Always remember to sand along the direction of the wood grain and texture. Otherwise, the repair plug or filler won’t ever match the surrounding floor.
After fine sanding, you can use a blower or hair dryer to blow away any excess wood dust.
Stain to Match the Color
Last but not least, stain the floor all over the area where the hole was created. This ensures the markings and repair works are not visible after you are done.
Soak up the polyurethane gloss with a sponge and gently lather it over the surface. Move the sponge in circles following the natural grain and gradually move outwards, centering the plug. Repeat the whole process twice until the colors evenly match.
Let the coat dry overnight, making sure nobody accidentally steps on it and ruins the coat. By the morning, your damaged floor should be as good as new!
